Using a cafetière is one of the simplest ways to make ‘proper’ coffee at home! And once you get the hang of it, it’s easy. This is an emersion style of brewing, which means the coffee grounds sit with the water to extract the flavour before being filtered. Let’s find out how they work, step by step.

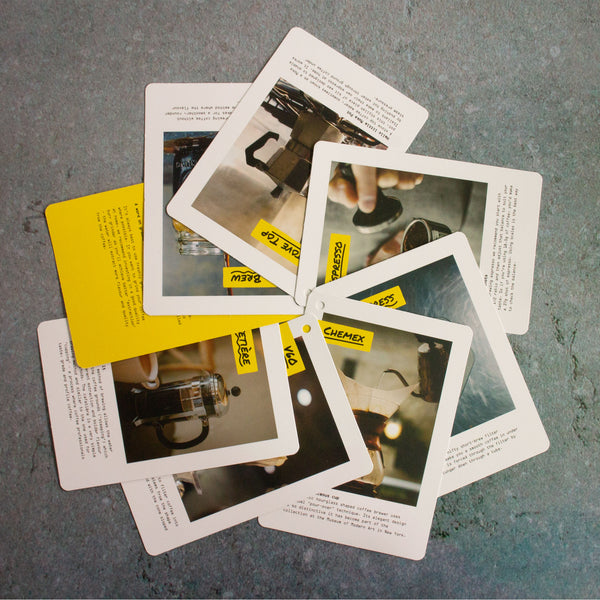
Check out our brew guide videos here!

What Do You Need to Make a Cafetière
Coffee?

Before you make your first cafetière coffee, you will need:

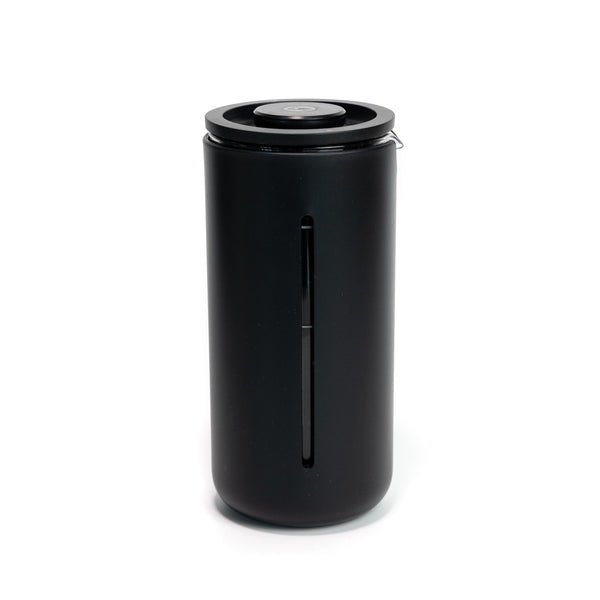
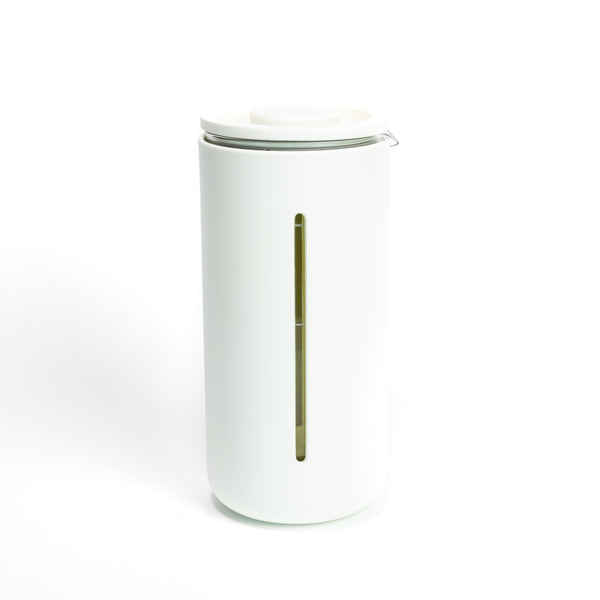
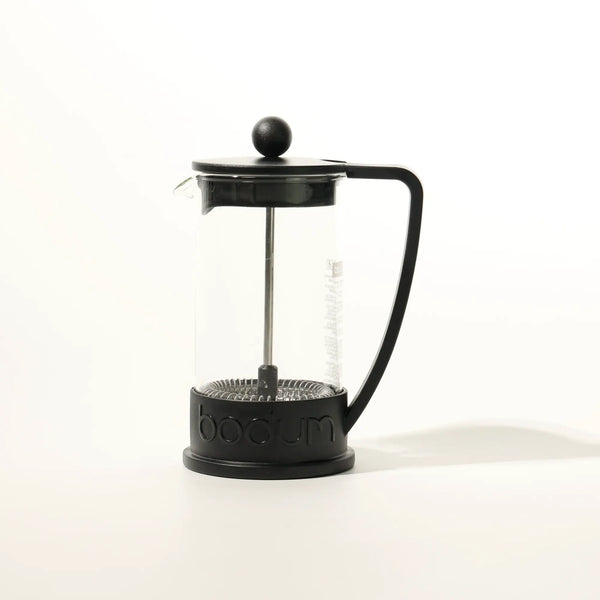
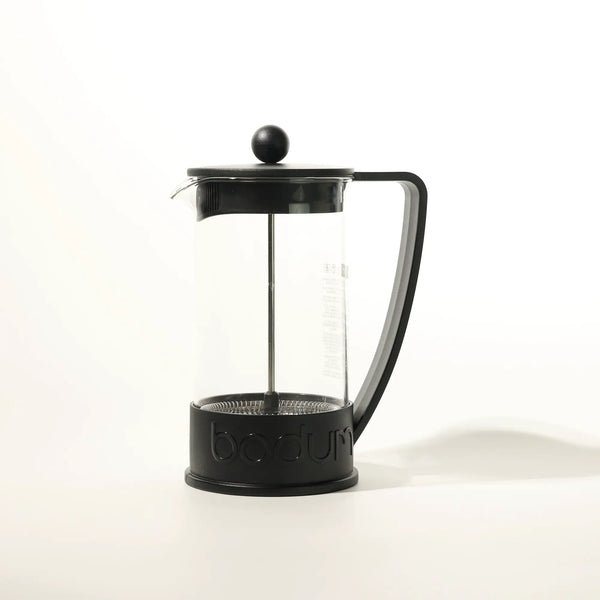
  • A French press or cafetière coffee maker. These are two names for the same thing, if you didn’t know. Yours should have a plunger on the top attached to a metal filer or sieve.
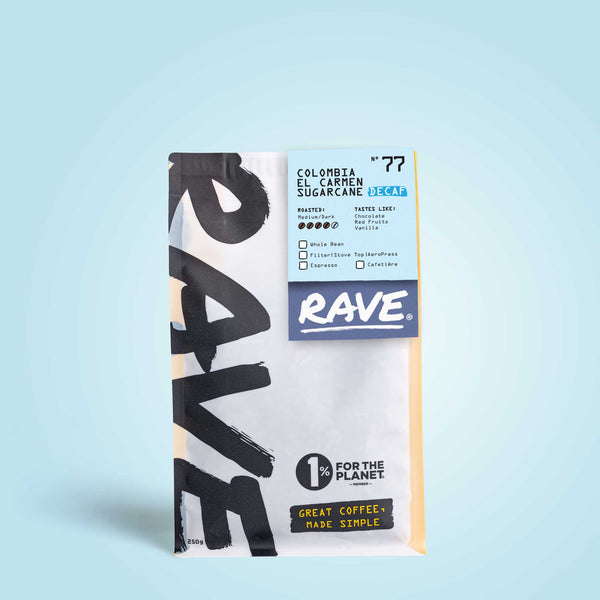
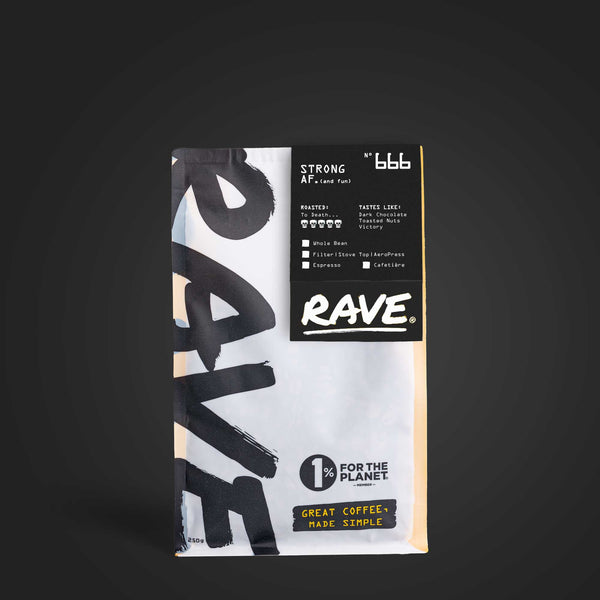
  • Rave Coffee – If grinding at home you will need a coarse grind, if buying pre ground from us choose the cafetiere grind.
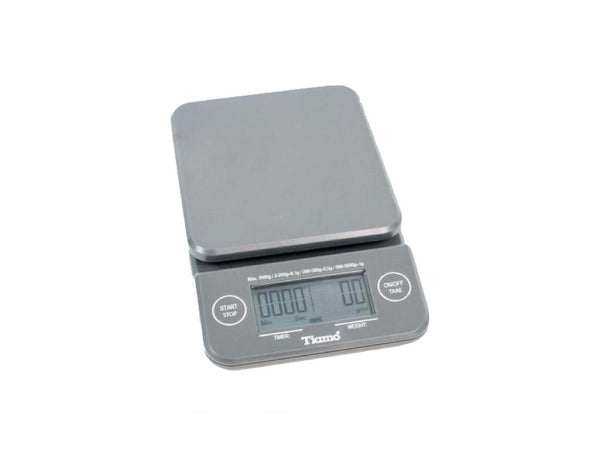
  • Scales or a measuring spoon so that you can use the right amount of coffee.
  • A kettle or a hob to heat your water.
  • A timer so that you know how long you’ve left your coffee to brew.
  • (Optional) a thermometer so that you can pour the water in at the right temperature.
  • (Optional) milk, sugar, syrup or whatever else you would like to flavour your coffee with.

What Coffee Do You Use in a Cafetière?

Cafetières are designed for ground coffee, which is why they have plungers with filters - they strain the grounds out of the coffee before you drink it.

As for the kind of ground coffee you use, that’s up to you. You can use a light roast coffee if you want a more delicate brew. Lighter roasts usually present more fruitier and floral notes and are best drank black to get the most from the flavours. Darker roasts will give you bolder flavours and more caramelisation. 

Coffee blends tend to offer a more rounded flavour profile and these are usually roasted medium – dark, and can take a small splash of milk. We offer dozens of the best coffees from around the world in our online coffee store.

So, pop your coffee and everything else on the side ready for you to use, and we can get started!

How to Preheat a Cafetière

The first step in making cafetière coffee is to preheat the cafetière & your cups.

You preheat a cafetière by filling it with boiling water, leaving it to sit for a minute, then pouring it away. You don’t need to dry your cafetière afterwards—leaving a few drops of water in there is fine. Fill your kettle right to the top so that you have enough to warm your cafetière and make your coffee, which you’ll be doing in a moment.

How Much Coffee to Use in a Cafetière

Next, you put your coffee in. Take your cafetière and put it on your scales before adding in 3 level tablespoons of grounds per person/cup.

We recommend the following amounts:

  • One cup: 15g of coffee, 250ml of water.
  • Two cups: 30g of coffee, 500ml of water.
  • Three cups: 45g of coffee, 750ml of water.
  • Four cups: 60g of coffee, 1000ml of water.

Cafetiere Ground Coffee Ratios

If you prefer your coffee stronger you can use more, which is something you can experiment with. Use the scales if you want to measure things exactly or a scoop if you don’t have the time.

How Much Water to Use in a Cafetière

To make coffee in a cafetière, you need water around 93-94 degrees Celsius. If you put on two lots of water when you boiled a kettle for the preheating step, it should have cooled down enough by now to be around the right temperature. If you’re not sure, use a thermometer to get it exactly right.

Zero out the scales and add in however much water you need based on the table above (i.e. 250ml for one cup, 500ml for two cups and so on). Pour in a circular motion as you are looking to saturate all the grounds and agitate them. Do not stir at this stage, leave to stand for 4 minutes. You don’t need to cover the top with the plunger yet.

How Long Should You Leave a Cafetière
Before Plunging?

This is when the coffee brews. Leave it for four minutes before stirring and breaking the crust that has formed on top. 

You should then leave it for another five minutes as it carries on brewing. If you’ve done everything right, the coffee grounds should start to settle towards the bottom of your cafetière, making it easier to plunge. 

You can leave it for a little less time or a little more time depending on your taste. Always follow a recipe the first time and then you can work out what changes you may like to make. But we recommend only ever changing one variable at a time.

Things you can change:  Coffee dose | Brew Time | Grind Size

How Do You Use a Cafetière Plunger?

When the coffee has brewed for nine minutes total, it’s time to plunge it. This pushes any free-floating coffee granules to the bottom of the cafetière. Put the plunger in and make sure the pouring filter is facing the front and push slowly, gently and consistently. It’s normal to feel a slight resistance. When you do, don’t draw the plunger up; just carry on pushing and shift it slightly from side to side until you can push through. Keep going until the plunger is resting on the grounds at the bottom. But you don’t need to squish the bed of coffee completely

The smoother you plunge, the fewer bits your coffee will have in it.

How to Pour from a Cafetière

You might think that pouring is the easiest step, but it’s actually quite easy to mess up.

Leave the plunger in place and pour slowly into your warmed cup. Once you’ve poured your coffee you can add whatever you like to it like milk, sugar or syrup.

Whatever you do, don’t try and get every last drop from your cafetière. If you do you’ll get lots of grounds in your coffee and ruin all your hard work! There will always be about a tablespoon’s-worth of coffee that you leave in the cafetière along with the grounds, and that’s fine.

If you’ve made a larger cafetière than you require straight away, we recommend decanting what coffee you have left into a thermos flask to stay warm. Any coffee you leave in the cafetière will continue extracting and potentially become bitter. 

Enjoy!

0 comments

Leave a comment

Please note, comments must be approved before they are published